
 |
| I love these cotton webbing Happy Easter embellishments! |
Today we had a gloriously warm, dry, sunny, everything's-blooming kind of day. I am still smiling from the sheer beauty of spring here.
Let's do some crafting!
I always am most inspired, not before an event or holiday, but inconveniently DURING or setting up for an event or holiday.
 |
| The bag of Jelly Beans contains loose paper jelly beans that move around! |
I made another one after dinner to show you the steps I took, since I think it turned out pretty cute!
They're a little different because I am incapable of doing the exact thing twice, but you are going to make the project your own anyway, right? Of course!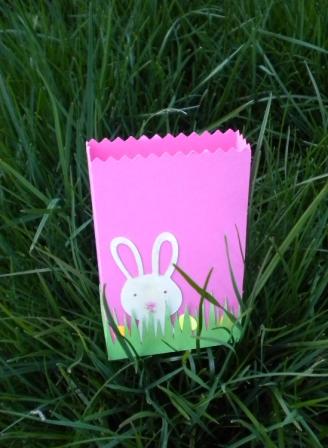 |
| Add YOUR Easter sentiment to the bunny side of the bag, along with eggs. |
 |
| Choose paper: bag, bunny and basket, grass, eggs. |
 |
| Cut out the bag; the orange bag has the top serrations trimmed off. |
 |
| Cut out the grass. |
...plus another to line the basket with "Easter grass" if you want
Orange bag is 5 1/2", with one 2" grass.
 |
| Cut the bunny and basket: measure the finished height of the bag, and cut 1/2" or so smaller. |
Cut egg shapes by hand -- start with half a heart. Start with a large one the first time. They sometimes keep shrinking ;)


Hold the large curved end and trim the pointy part off to form the small curve. Use small scissors. You don't have to even out all the jags as much as you think!

Tools, supplies, and pieces.
 |
| Score and assemble the bag. |
 |
| I grabbed a Marvy Le Plume and scribbled some basket texture with the brush end. |
Tuck the basket into the grass with no adhesive. Use a drop of glue or a glue pen to anchor the top of handle only.
 |
| Use the grass off-cut to make the Easter grass. |
 |
| Create your Easter basket grass. |
Score and curl the tips of one piece.
 |
| Fill your Easter basket! |
Tuck shaped piece of grass into basket with adhesive on UPPER side; position and press into place.
Use glue or glue pen and the help of a tool (toothpick, etc) to put eggs in place.
Add glue under the edges of the basket if you wish.


This Easter basket could use a fun bow, or a bit glitzy butterfly perched on the handle, don't you think?


Since I was making this orange candy bag for my son, I only added this small, no-pink puffy butterfly. :)

This Easter basket could use a fun bow, or a bit glitzy butterfly perched on the handle, don't you think?
